Moles may be small, but their presence can create some big problems in your yard. Tunnels crisscrossing under the grass, mounds of soil scattered across your lawn, and roots left exposed can be enough to frustrate any homeowner. These underground pests can destroy the look and feel of your outdoor space before you even realize what’s happening. Fixing the damage after a mole has made itself at home is no easy task, and placing traps without a plan might leave you with more work and no results.
That’s why careful trap placement really matters. It’s not just about setting traps anywhere you see a mound. Success comes from knowing where moles move, how they build their tunnels, and which spots give you the best shot at a quick and effective catch. This article covers helpful strategies to choose the best locations for ground mole traps so you can protect your yard with confidence.
Understanding Mole Tunnels
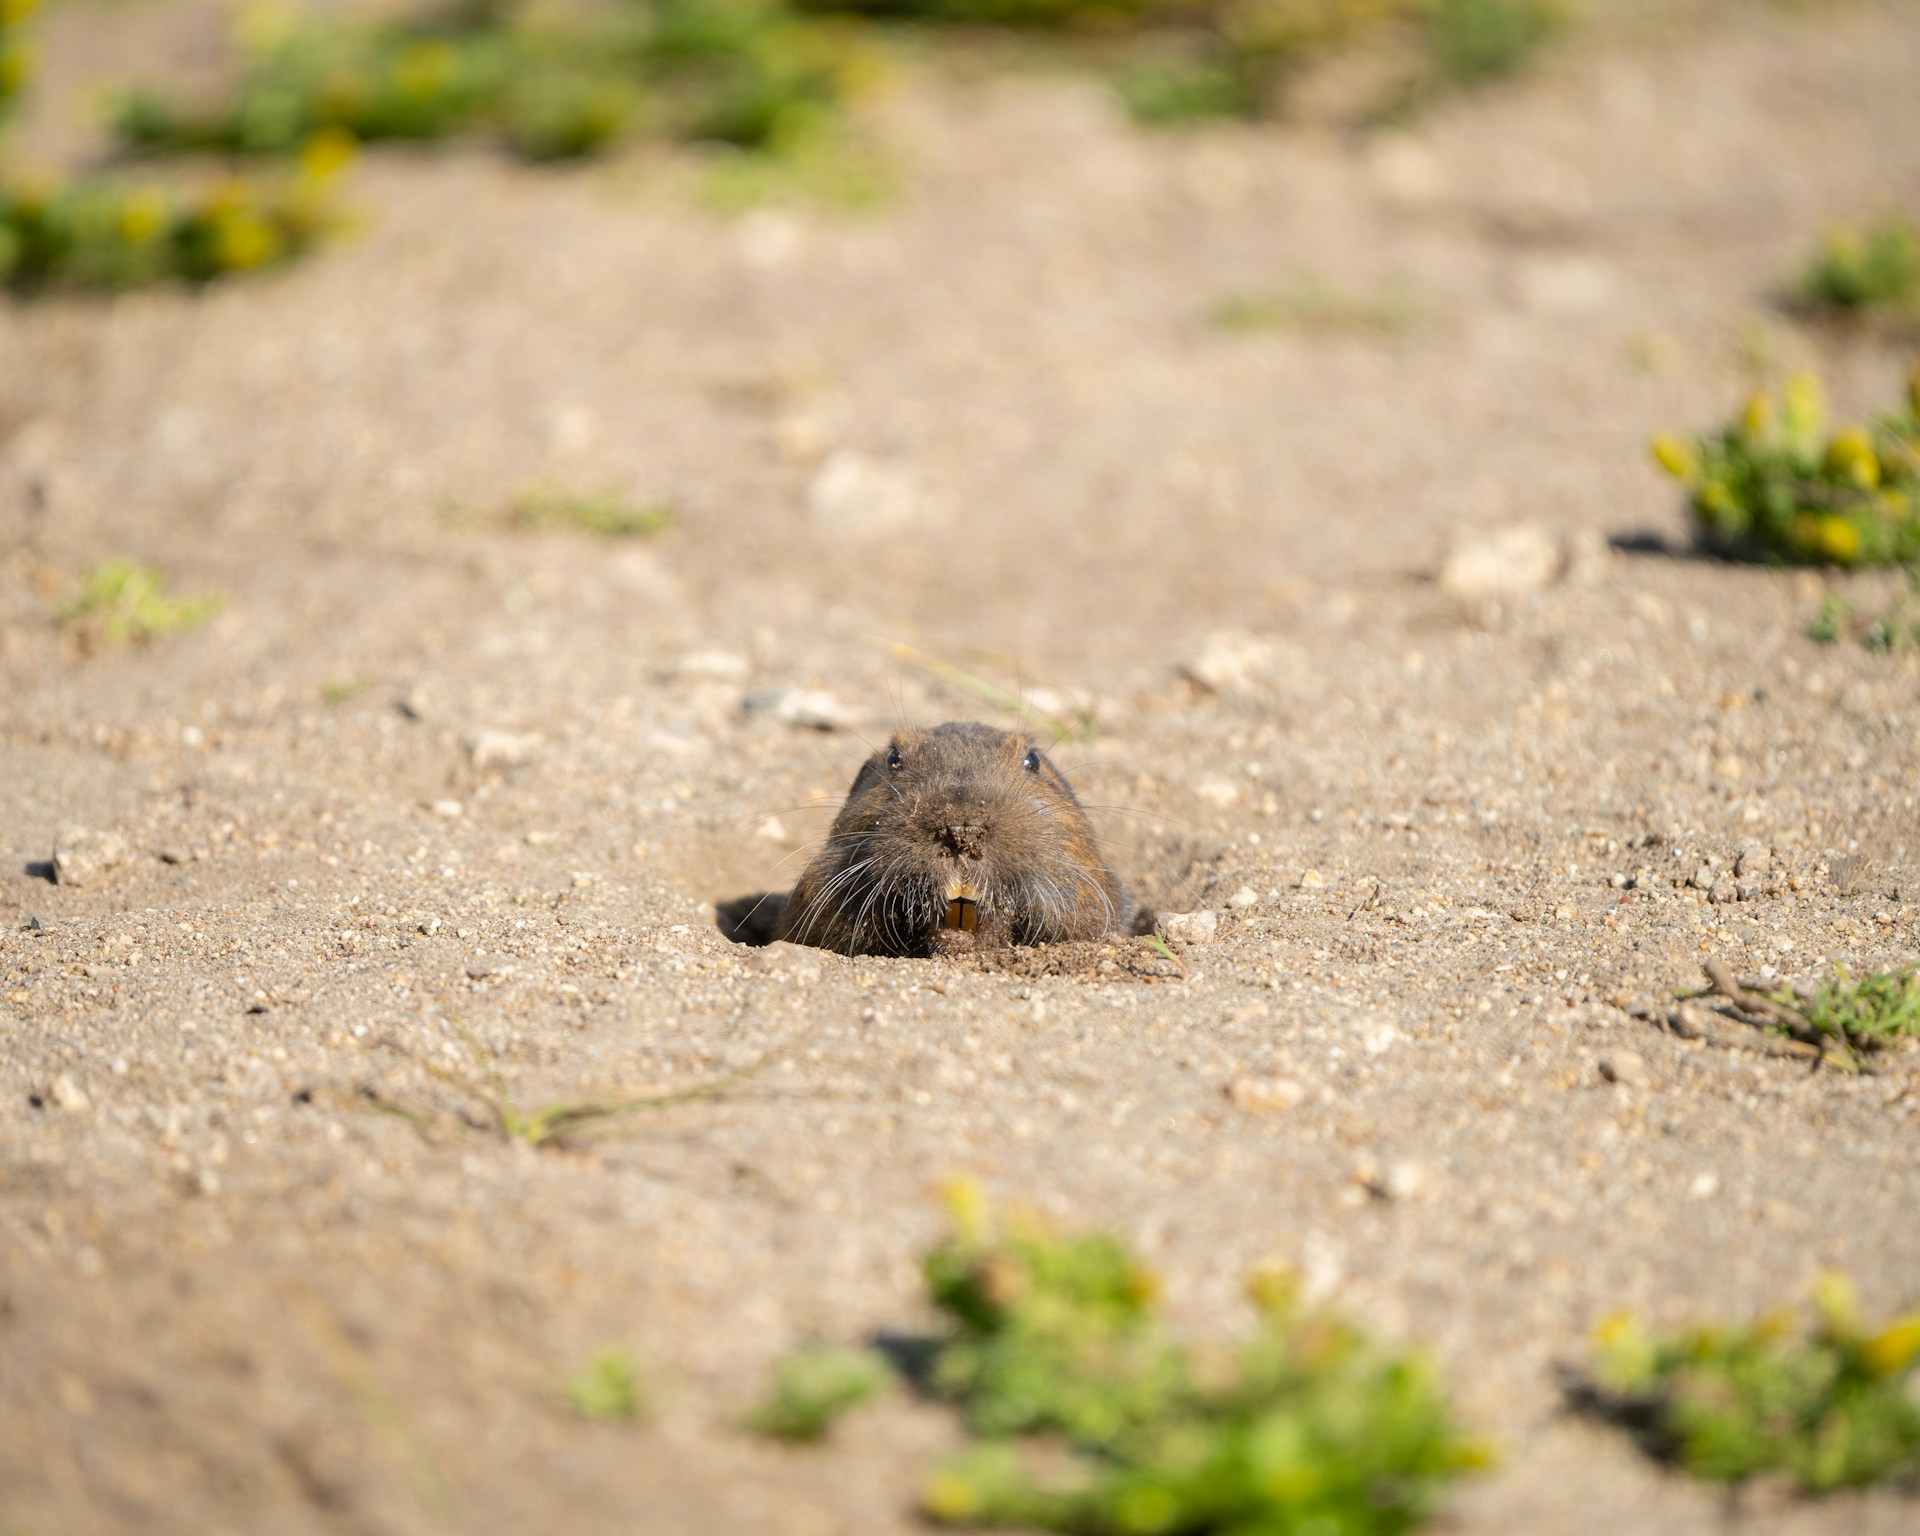
Before you place a trap, it helps to know how mole tunnels work. Moles use two main types of tunnels: surface runways and deeper, long-term routes. Each one plays a different role in the mole’s daily life, so knowing which is which helps you figure out where to target.
Surface runways are right beneath the grass. You’ll usually see them as raised lines stretching across the yard. Moles make them while foraging for food like worms and bugs. These tunnels might only be used once, but they might get rebuilt in areas where there’s plenty to eat.
Deeper tunnels are built farther underground. They’re harder to recognize because they don’t disturb the top layer of soil much. Moles use them all year to travel across their territory and to nest or store food.
Here’s how you can spot and test for active tunnels:
- Step gently on part of the surface tunnel to flatten it. Check 24 hours later. If it’s raised again, it’s probably active.
- Look for straight lines with little branching. Moles like to travel along these paths repeatedly.
- Fresh dirt mounds nearby often signal recent digging.
Knowing where moles are going rather than where they’ve been gives you a big advantage when setting traps. You want to set your trap where the mole is likely to travel again, not just anywhere you notice loose soil.
Best Locations For Traps
It’s common to think molehills are the best spots for traps, but that’s not usually the case. Molehills are often created when dirt is pushed up from deeper tunnels, not from areas where the mole hangs out regularly. The most effective traps go where moles move through often, which is usually inside active tunnels.
Use these tips to pick out the best trap locations:
- Choose straight sections of tunnels. These are more likely to be reused than curving or branching ones.
- Avoid spots with tree roots, large rocks, or really muddy areas. These obstacles can trigger the trap early or mess up its positioning.
- Spread out your traps if mole activity seems heavy. Covering more ground boosts your chance of success.
- Mark your locations with small flags or stakes so you can come back easily for checks or resets.
Once you pick your spots, clear away extra soil or grass and make sure the trap blends with the tunnel. It should feel like a normal section of tunnel to the mole. A tightly set, camouflaged trap is more likely to get results.
It’s all about giving your trap the best shot by finding the right tunnel, creating the right setup, and getting rid of anything that might block the mole’s path. A few extra minutes of prep on trap day are well worth the payoff.
Techniques For Setting Traps
After choosing the right tunnel and readying the setup, it’s time to install the trap. There are several choices out there, but scissor traps and harpoon traps are the ones most often used. They work in slightly different ways and need different setups.
Here’s how to set a scissor trap:
- Dig carefully into the tunnel until both ends are visible and open.
- Clear out loose soil so the tunnel shape stays true, and make sure it’s not collapsed.
- Place the trap so the jaws line up directly with the tunnel’s direction.
- Press it into place. It needs to be snug so it doesn’t shift or feel out of place.
- Cover the hole with a board, bucket, or similar item to block out air and light.
Setting a harpoon trap goes a bit differently:
- Look for an active surface tunnel.
- Place the trap directly on top, without digging down or disturbing the runway.
- Press it in gently to anchor it, but don’t collapse the tunnel underneath.
- Arm the mechanism and wait. Watch for movement or signs that the trap has been triggered.
No matter what trap you use, check it daily. If there’s no sign of action after two or three days, move it to a new spot. Also, wear gloves when handling traps. Moles are very sensitive to human scent, and your smell might keep them away.
Setting the trap correctly is just as important as choosing the right location. A well-placed trap will still fail if it’s installed the wrong way. Take the time to follow the instructions, keep safety in mind, and be patient. Moles can be tricky, but careful work tends to pay off.
Seasonal Considerations For Mole Trapping
Mole activity isn’t constant all year. The season can have a big effect on how active they are and how successful your trapping efforts will be. Knowing the timing helps you plan smarter.
Fall tends to be a pretty good time to trap moles. The ground is soft enough to work with, there’s usually more moisture, and moles are busy feeding and getting ready for winter. That makes it easier to find fresh tunnels and place traps.
Some tips for fall trapping:
- Focus on tunnels along the edges of woods or near gardens. These areas are often mole hotspots during the fall.
- Look after a rain. Raised runs or new mounds mean fresh movement.
- Avoid hard clay soil if it’s dry. Moles might be deeper underground when the surface starts to harden.
In winter, shallow activity slows down because of cold temps. Moles dig deeper to avoid the frost. Trapping may not work well until spring arrives and warming soil brings them back up. Spring offers another good window because the soil is thawed, moist, and full of bugs near the surface. Summer trapping can be tougher. The ground might be dry and packed down, making tunnels harder to find and use.
Weather and soil conditions change each year, so keep an eye on your yard. Some areas may stay active longer than others. If you change your strategy depending on the time of year, you’ll have a better shot at catching those unwanted diggers.
Keep Your Lawn Mole-Free with Trap Your Moles
Getting rid of moles doesn’t have to be hard guesswork. The trick is knowing how they move, what their tunnels look like, and how best to set your traps. By learning the signs, setting your traps the right way, and paying attention to seasons, your odds of catching moles go way up.
Mole problems may feel endless, especially when you work hard but see no results. But each time you check a trap or follow tunnel paths, you get closer to figuring out the pattern. Over time, those efforts add up. You begin to see where they travel most, how fresh the soil looks, and which traps actually work in your yard.
Don’t give up after one or two tries. Adjust your plan based on what you see, and stay consistent. It’s that mix of focus, patience, and action that makes your trap placement work. And when in doubt, Trap Your Moles is here to help you take care of the problem the right way.
Struggling with stubborn moles tearing up your yard? Let Trap Your Moles take the hassle out of your hands. Our experience with setting up ground mole traps keeps your lawn looking clean and undisturbed. Reach out today and take back your outdoor space with confidence.


